Skip to content
Menu
Menu
유흥커뮤
스포츠용품
Menu
유흥커뮤
스포츠용품
유흥커뮤 추천 리스트 2024년
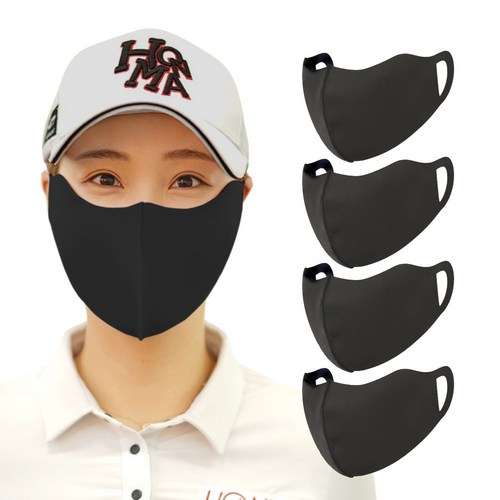
2023년 자외선차단마스크 추천? 이 글로 종결. ( 삭제 될 수도 있습니다. )
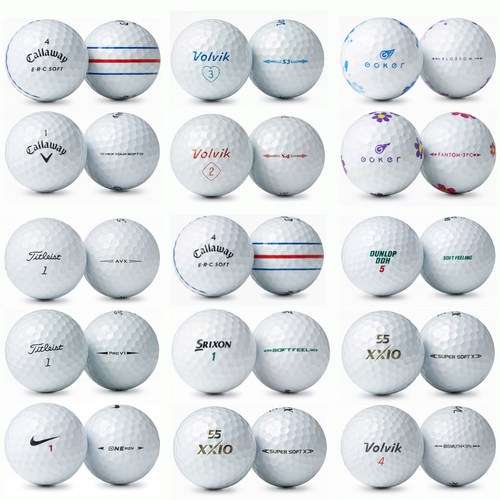
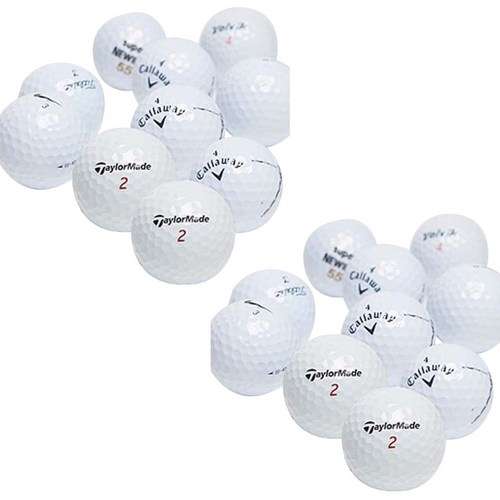
로스트볼 추천 Best10 장점/단점과 가격 비교 [2023년]
2023년 로스트볼 추천? 이 글로 끝. ( 곧 삭제 될 예정 )
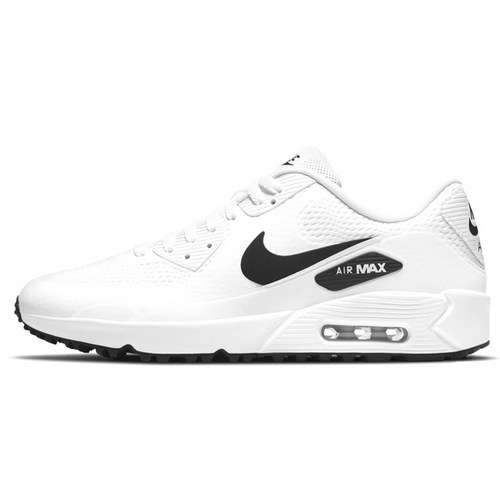
나이키골프 추천 Best10 장점/단점, 가격비교 [2023년]
2023년 나이키골프 추천? 이 글로 종결. ( 삭제 될 수도 있습니다. )
디스커버리바람막이 추천 Best10 장단점 및 가격비교 [2023년]
2023년 디스커버리바람막이 추천? 이 글로 끝. ( 곧 삭제됩니다. )
축구반티 추천 Best10 장점/단점, 가격 비교 [2023년]
2023년 축구반티 추천? 이 글로 끝내드립니다. ( 안보면 손해 )
Older posts
Page
1
Page
2
…
Page
35
Next
→
Close
유흥커뮤
스포츠용품